A shower wall can look perfect from the front while the plaster or board behind it is soaking wet. By the time the problem shows, it is usually on the other side of the wall: bubbling paint in a bedroom, a damp skirting in the hallway, or a musty smell in a cupboard. The question is always the same. Is splash water getting through the tiles, or is a pipe or valve inside the wall leaking?
This guide focuses on the wall itself. It covers the signs, how a concealed mixer valve and its pipework can leak, and the dye and isolation tests that separate the two causes. If your leak is showing on the ceiling below rather than in the wall, our guide to a bathroom ceiling leaking below the shower covers trays, wastes and traps.
What are the signs of a leak behind shower tiles?
- Grout that stays dark in one area long after the rest of the wall has dried.
- Tiles that sound hollow when tapped, or that move slightly when pressed.
- Cracked or crumbling grout, often in a line or around the valve.
- Mould that keeps returning at the base of the wall or behind the silicone.
- Silicone lifting away from the tiles or the tray.
- Damp on the other side of the wall, such as bubbling paint, lifting wallpaper or a swollen skirting board.
- Water appearing at the front of the tray or on the floor outside the enclosure after showering.
- Loose tiles around the valve or the faceplate that do not sit flat.
One of these alone can have a simple explanation. Several together, especially damp on the far side of the wall, make water in the wall very likely.
Is it the grout and silicone or a pipe?
The behaviour of the damp is the quickest guide.
| What you notice | Points towards |
|---|---|
| Damp gets worse after showers and dries out when the shower is not used for a few days | Grout, silicone or missing waterproofing behind the tiles |
| Damp is worst on the wall the shower head points at | Grout or tile joints on that wall |
| Damp stays or grows even when the shower is unused | Supply pipework or a valve connection under pressure |
| Damp centred on the valve, getting worse only while the shower runs | Valve outlet, riser or fixed head connection inside the wall |
| Damp at low level along the tray edge | Silicone between tray and tiles, or the tray moving |
| Damp appeared soon after fitting a screen, shelf or grab rail | A screw or fixing through a hidden pipe |
How does a concealed mixer valve leak?
A concealed or built-in shower valve sits inside the wall, with only the controls and faceplate showing. Everything behind that faceplate is out of sight:
- Inlet connections. The hot and cold pipes usually join the valve body with compression fittings. The brass olives in those fittings can weep, particularly if the pipe has moved or the joint was not tightened squarely.
- Outlet connections. Pipes from the valve to a fixed head, a riser or a second outlet only carry water when the shower runs, so their leaks appear only during use.
- The valve body and cartridge. Depending on the design, a worn seal around a cartridge or spindle can let water escape behind the faceplate rather than through the head.
- Diverters. Valves that switch between two outlets have extra seals and extra connections.
Many valves have a gap around the controls, and water from the shower can also get in behind the faceplate if it is not sealed to the tiles as the manufacturer intends.
Where does the hidden pipework run?
Knowing the likely pipe route tells you where to look and where not to drill.
- Pipes are often chased into masonry walls and plastered over, or run inside stud partitions.
- They commonly rise from the floor below or drop from the ceiling void above to reach the valve.
- Plastic pipe may have push-fit joints inside the wall, which can leak if the pipe was not fully inserted.
- Pipes run to a fixed overhead shower go up the wall above the valve, a common place for a screw from a shelf or screen fixing to find them.
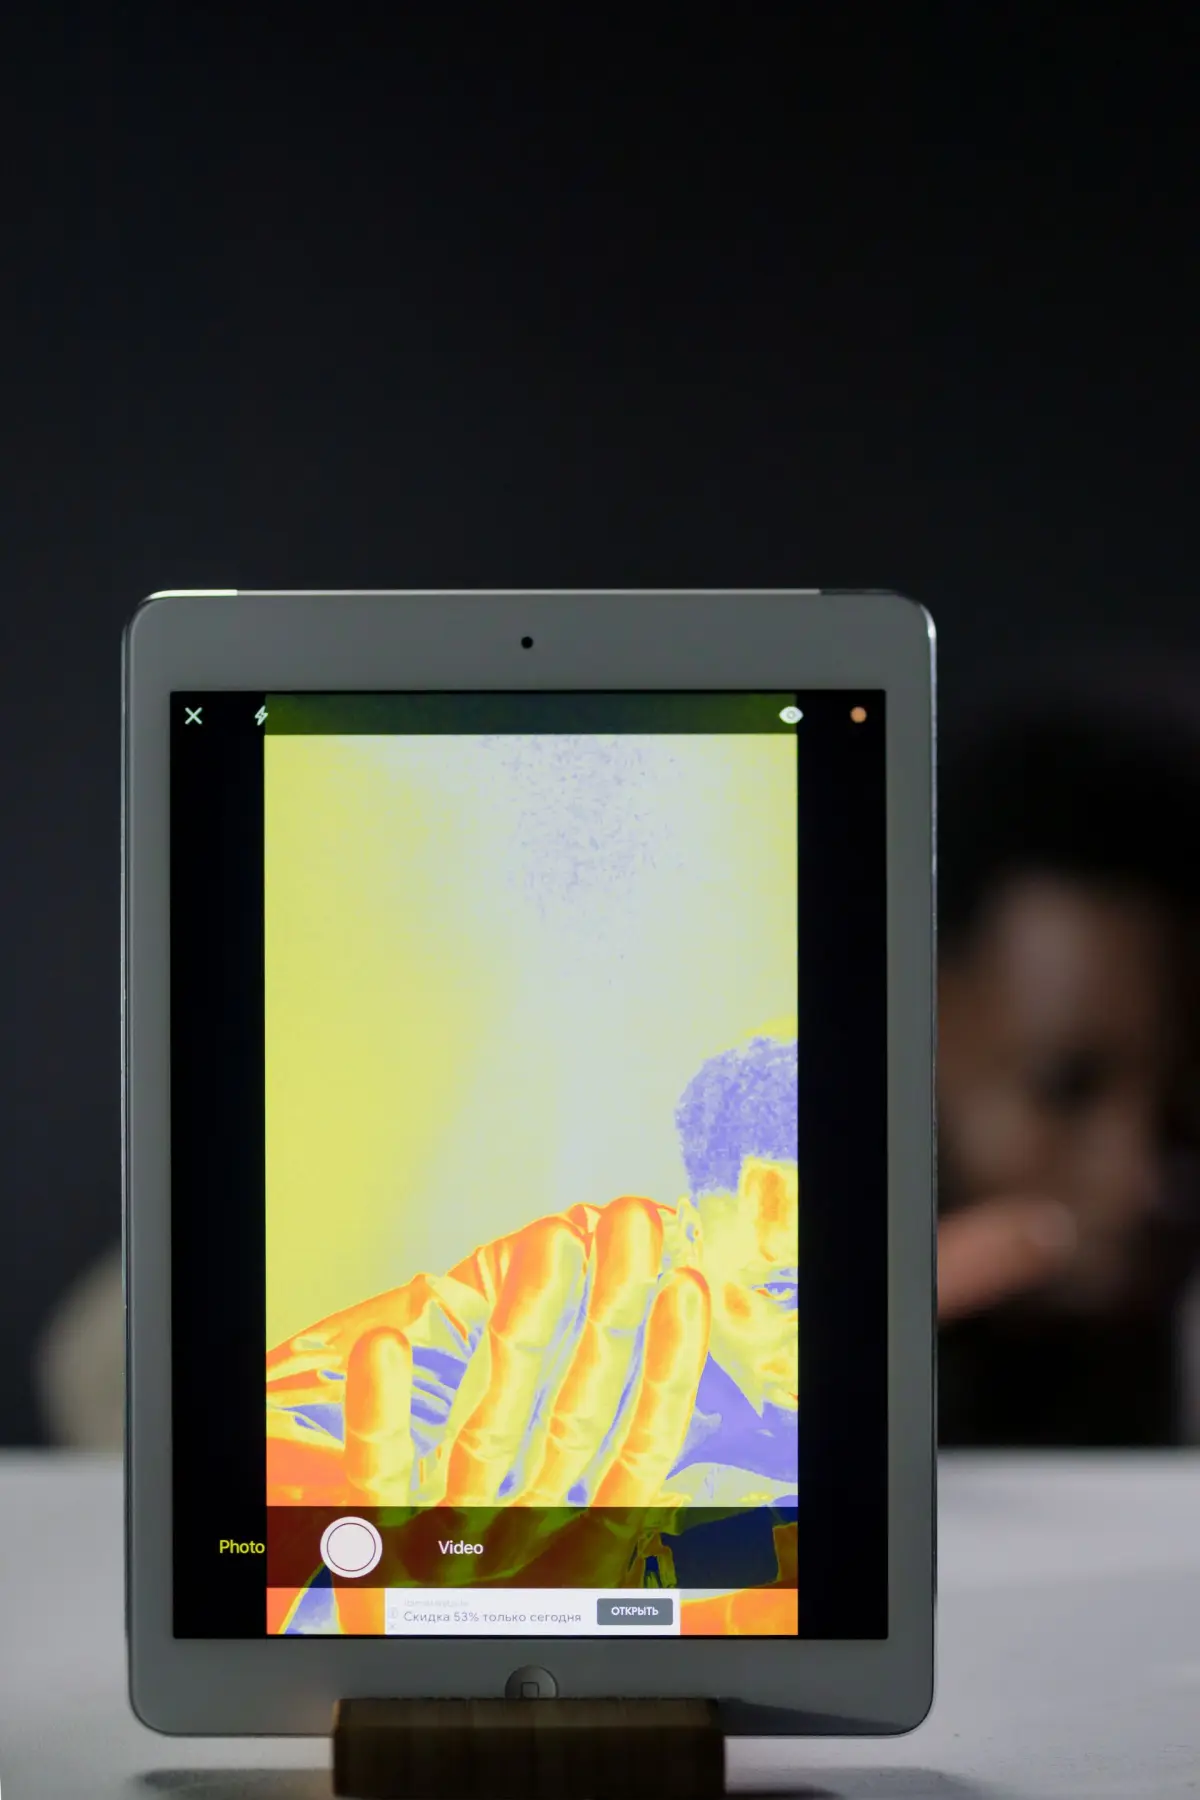
Thermal imaging shows the route of hot pipes clearly once hot water has run through them for a short time, which is why it is often one of the first tools used on a shower wall.
How do you do a dye test on a shower?
A dye test shows whether splash water is finding its way through the tiles or seals.
- Let the area dry. Leave the shower unused long enough for the damp readings, or the visible damp, to settle.
- Test a small area first. Some dyes can stain grout or sealant, so use a dye intended for leak tracing and try it somewhere discreet.
- Apply dyed water to one area at a time. Run it slowly along the silicone at the tray edge, then along the grout lines of one wall, rather than the whole enclosure at once.
- Watch the other side. Check the far side of the wall, the ceiling below and any access panel for coloured water or fresh damp.
- Move on. Once one area has had time to show, move to the next.
Coloured water appearing where the damp is proves the path. No colour, with damp still growing, shifts suspicion to the pipes.
What is an isolation test and how does it help?
An isolation test takes the pipes out of the equation. Most shower supplies have isolation valves, often behind an access panel, under the bath, in the airing cupboard or near the cylinder.
- Close the hot and cold isolation valves to the shower, or the valves for that bathroom if there are none for the shower alone.
- Leave the shower unused, and use a moisture meter or pencil marks on the damp area to record its size.
- Compare over the following days. If the damp stops spreading while the supply is isolated but returns when the valves are reopened, the supply side is leaking.
- If you have a water meter, a meter test with the shower valves open and then closed gives a second check on the cold mains side.
Where there are no isolation valves, a plumber or leak detection engineer can cap the supply and pressure test the shower pipes on their own, which gives a clearer answer.
How are shower leaks found without removing tiles?
An engineer normally combines several methods:
- Moisture readings on both sides of the wall to map the wet area.
- Thermal imaging to trace the hot pipe route and spot cool or warm patches from escaping water.
- Pressure testing the hot and cold legs of the shower supply separately.
- Acoustic listening for water escaping from a pressurised pipe.
- A look behind the faceplate, sometimes with an inspection camera, to check the valve connections.
Our thermal imaging leak detection page explains what the camera can and cannot see through tiles.
What does the repair usually involve?
It depends on the cause. Failed silicone and grout can be raked out and renewed, though if there is no waterproofing behind the tiles, water may find a way through again. A weeping valve connection can sometimes be reached by removing the faceplate. A pipe joint deeper in the wall usually means removing a small number of tiles, or opening the wall from the other side, which is often cheaper to make good. Many plumbers suggest fitting an access panel on the far side of the wall at the same time, so the valve can be reached in future.
Before any tiles are removed, photograph the wall. If you are thinking about an insurance claim, check your policy first, and our escape of water evidence checklist sets out what to record.
When should you call a leak detection specialist?
- the damp continues when the shower is not used;
- the valve is concealed and there is no access panel;
- you have regrouted or resealed and the damp came back;
- damp is appearing in another room and you cannot tell where it starts;
- you want to open the wall once, in the right place.
A thermal imaging survey is £150 to £250, and our combined detection package is £250 to £500. Call 020 3912 0200 to talk it through.
Frequently asked questions
How do I know if my shower is leaking behind the wall?
Look for grout that stays dark, hollow or loose tiles, mould that keeps returning, and damp, bubbling paint or a swollen skirting on the other side of the wall. Noting whether the damp changes when the shower is used or left off tells you whether it is splash water or a pipe.
Can water get through grout?
Yes. Grout is not waterproof on its own. What keeps water out of the wall is the waterproofing behind the tiles, where there is any, and the silicone at the joints. In older bathrooms without waterproofing, cracked grout lets water straight into the plaster.
Why is my shower valve leaking inside the wall?
Common causes are a weeping compression joint on the inlet pipes, a leaking outlet connection to the head or riser, or worn internal seals, depending on the valve design. A pressure test and a look behind the faceplate usually show which.
Can a leak behind shower tiles be fixed without removing tiles?
Sometimes. Grout and silicone can be renewed from the front, and valve connections can often be reached through the faceplate or an opening on the other side of the wall. A hidden pipe joint may still need a few tiles removing, but locating it first keeps that to a minimum.
Should I stop using the shower if it is leaking behind the tiles?
Yes, until the cause is known. Continued use keeps the wall and any timber wet, encourages mould and can make an insurance claim harder. If the supply side is leaking, close the isolation valves as well.